


The Asheville Wine & Food Festival is right around the corner and my anticipation has reached a new level of out of control! Our Airbnb is booked and I won’t even begin to spill all the goodness about the cozy-decor-ed little apartment we scored! There’s just something about being in Asheville that makes you wonder why you haven’t been there all along, but don’t worry Nashville, I’m not leaving you! In anticipation for the food-coma of a festival I’ve whipped you up a vegetarian salad that will put a smile on your heart and keep you true to that summer diet. And revel in it guys because vegetarian options are a rarity here folks!
It seems like yesterday, my eyes were rolling into the back of my head and my arms were making a swift motion to push the plate across the table. Oh, you ask, “What was on that plate?” Well, if you were a resident of the blue home on Houston Avenue it may have been anything from buttered peas and onions to turnips or rutabagas, either way I wanted no part of it. But I was young and naive to the joy that these spring time and autumnal veggies had to offer. I only knew or at least thought I knew that they were healthy and weren’t worth another look, pass the mac and cheese please (wink).


My mom cooked vegetables often and I’m not even sure if she loved them or if it was just something innate from her childhood. Because often you would arrive to my grandmother’s house and there would only be a pot of stewed vegetables on the stove and a cast-iron skillet of cornbread. And I had become accustomed to this tradition and over time it became a treat, as my palate matured and all those vegetables slowly began to take on their own definitive taste in my mind. It wasn’t as simple as ‘if you’ve tried one of them, you’ve tried them all’ which I lived by this mantra back then.

And now vegetables of all kinds arouse the epicurean within me and I want to know all the ways to use them. How other cultures enjoy from day-to-day; season to season, and what kinds exist that I’ve yet to discover? The Nashville farmer’s markets are flooded with all kinds of summer goods from the soils bountiful harvest and I can’t resist leaving the market with a bag full of them to explore. I’ve been pickling, jamming and tossing all the things in vinaigrettes and it won’t cease anytime soon. I’m enamored with the color varieties that vegetables come in even if the flavor doesn’t change, it keeps that dinner plate interesting and makes for beautiful presentation.

The recipe for this salad is relatively easy, you’ll have to put a little time in but the end product is well worth it. And squash has been killer this summer, so much so, that it has ended up in many a dish for dinner. The combination of these tart cherries, earthy sweet tomatoes and the burst of brightness from the lemon vinaigrette work so well with the zesty pop of the onions. I think you’ll be making this for summers to come…if you’re smart. Also, if you want more info on the Asheville Wine & Food Festival simply click here! I’d love to see you there!
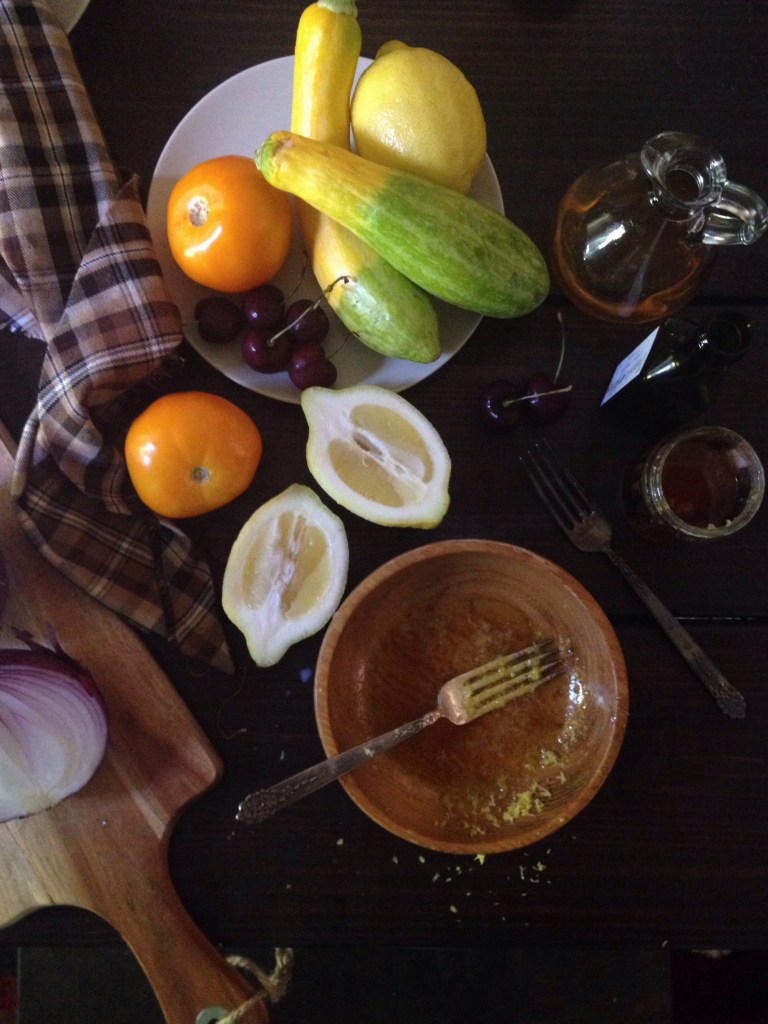
Summer Tomato, Tart Cherry & Squash Salad
2 Summer Squash
1/2 cup pitted & sliced cherries (tart)
1/4 cup julienne red onion
3 Tomatoes
Lemon-Honey Vinaigrette
1 medium lemon (zested & squeezed)
2 tablespoons TRU Bee Honey
3 tablespoons apple cider vinegar
1/4 Extra Virgin Olive Oil
1 tsp kosher salt (to taste)
Method
First, rinse all of your fruit off under cold water for about thirty seconds to remove all debris. Julienne one-quarter of a red onion, put it in an ice-cold bath for about 5 minutes. I do this to remove the sharp bite that onions may have. Take them out, lightly pat them with napkins to remove excess water. Shave your summer squash with a potato peeler or a mandolin, place in a bowl with onions. Core and slice your tomatoes into thin wedges or you may dice them if you like. Then, add them to the onions and squash, set aside.
Combine all of the ingredients for your lemon-honey vinaigrette and whisk them vigorously in a small bowl until a temporary emulsion forms. Taste for salt and adjust accordingly. Drizzle the vinaigrette over the squash, onions, and tomatoes and toss gently with your ‘clean’ hands for about 30 seconds or so. Taste again for salt and adjust accordingly. Arrange salad on the serving platter or plates how you see fit and last, but not least, place the cherries across the top. Enjoy!
Note: I also think sherry or rice wine vinegar would be a great substitute if you don’t have apple cider vin on hand, but you may need to add a little sugar (like a teaspoon) if using rice wine vinegar. This salad would also be nice with seared duck breasts or grilled salmon if you’re feeling fancy!


 I’m not a superstitious person to say the least, but I can’t fight tradition. For as long as I can remember my family has eaten the southern staples every New Year for the first twenty years of my life and then I may have fallen of the bandwagon a few times between twenty-one and thirty but who’s counting?


 More than the perfect chocolate chip cookie filled to the brim with chocolate-y goodness, a crispy rim and a chewy center is a chewy center. This has always been and always will be my favorite part of any cookie. So you crispy cookie people may want to move on. As a child, I endured the crunchy rim and saved every last moist bite of the center until the very end.


