

Tell me all the things you enjoy about Autumn. And don’t worry, its okay if Autumn isn’t your season. No judgement here. But maybe there’s a characteristic about it that you appreciate. The golden evening light, the leaves changing colours, cooler weather, or maybe your a pluviophile like myself and love the rainy days. Either way you feel about it, it is indeed the season I prefer over the other three.
I feel rejuvenated in Autumn. Theres a feeling of newness in the air and I breathe it in deeply. Its so much more than changing of the harvest and what makes it to your dinner table. Its a season that exudes the joy of gathering together. Gathering together around fire pits, along porch verandas and the holding of hands down neighborhood streets. Its mornings met with slow sunrises that you’ll actually get to catch if you’re a late riser.
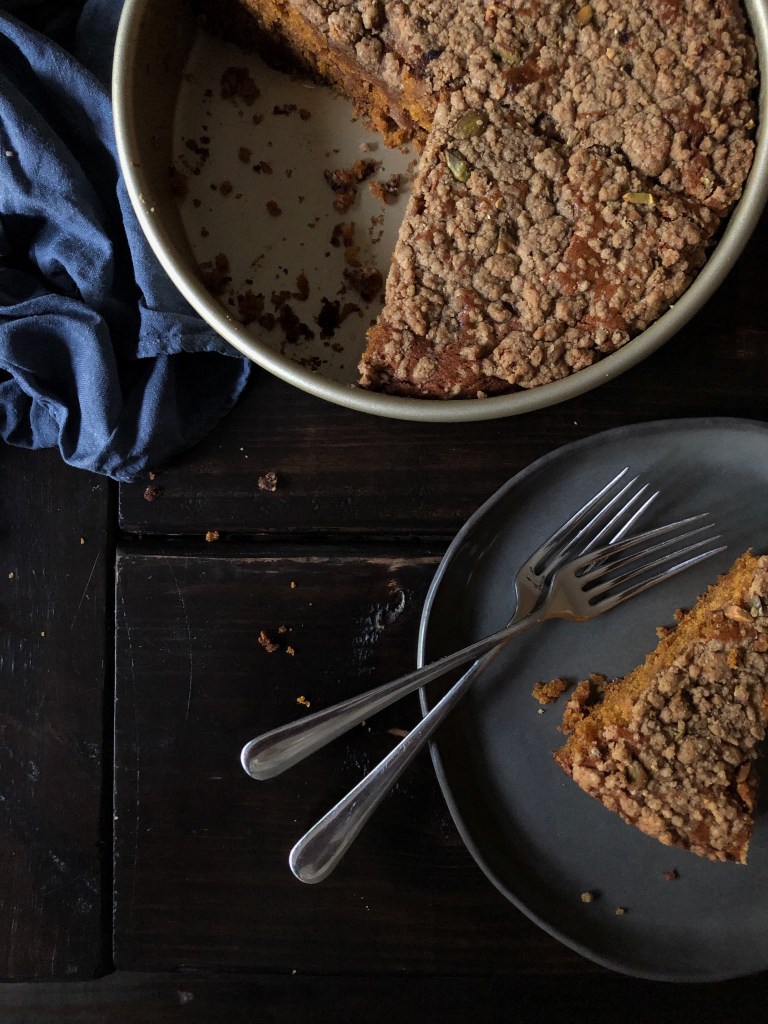
It doesn’t have to be Autumn for me to be in the baking mood. I know some refuse to turn on their ovens during the warmer months, but I’ve never been one to say no to my cravings. Especially when that craving is for cake. A baked good who’s presence I enjoy at breakfast, lunch and dinner. Which makes this Morning Pumpkin Cake with Pistachio Streusel the perfect cake to get your Autumn baking off to a good start. And I have every intention of trying this with butternut squash, and sweet potato puree. I hope you enjoy it as much as I do.


Morning Cake with Pumpkin, & Pistachio Streusel (Egg-Less)
Prep: 10 minutes
Baking Time: 40-50 minutes
3-½ cups White Lily AP Flour
2-¼ cups White Granulated Sugar
2 teaspoons Baking Soda
3/4 teaspoon Baking Powder
1 teaspoon Kosher Salt
2 tablespoons Pumpkin Spice
1 teaspoon Vietnamese or Saigon Cinnamon
2-¼ cups Canned Pumpkin
1 teaspoon Vanilla Extract
1/2 teaspoon Almond Extract
1 cup Coconut Oil
⅔ cups Lactaid Milk
1 teaspoon Rice Wine Vinegar
Pistachio Streusel
6 tablespoons chilled unsalted butter, chunked
1 1/2 cups White Lily AP Flour
1/2 cup dark brown sugar
Heavy smidge kosher salt
1/4 cup chopped pistachios
METHOD:
1. Streusel: combine all the ingredients together in a bowl. Coat the butter with the dry mix. Smush the butter between the side of your index finger and thumb while mixing it into the dry ingredients until you have a crumbly mix. Be careful not to over mix. Place back in the fridge while you make the cake.
2. Preheat oven to 350ºF. Grease the bottom of a 9 inch cake pan or two 9 x 5 inch loaf pans. If you use the 9-inch pan, there will be extra batter left. Make muffins with it, or refrigerate it up to 3 days.
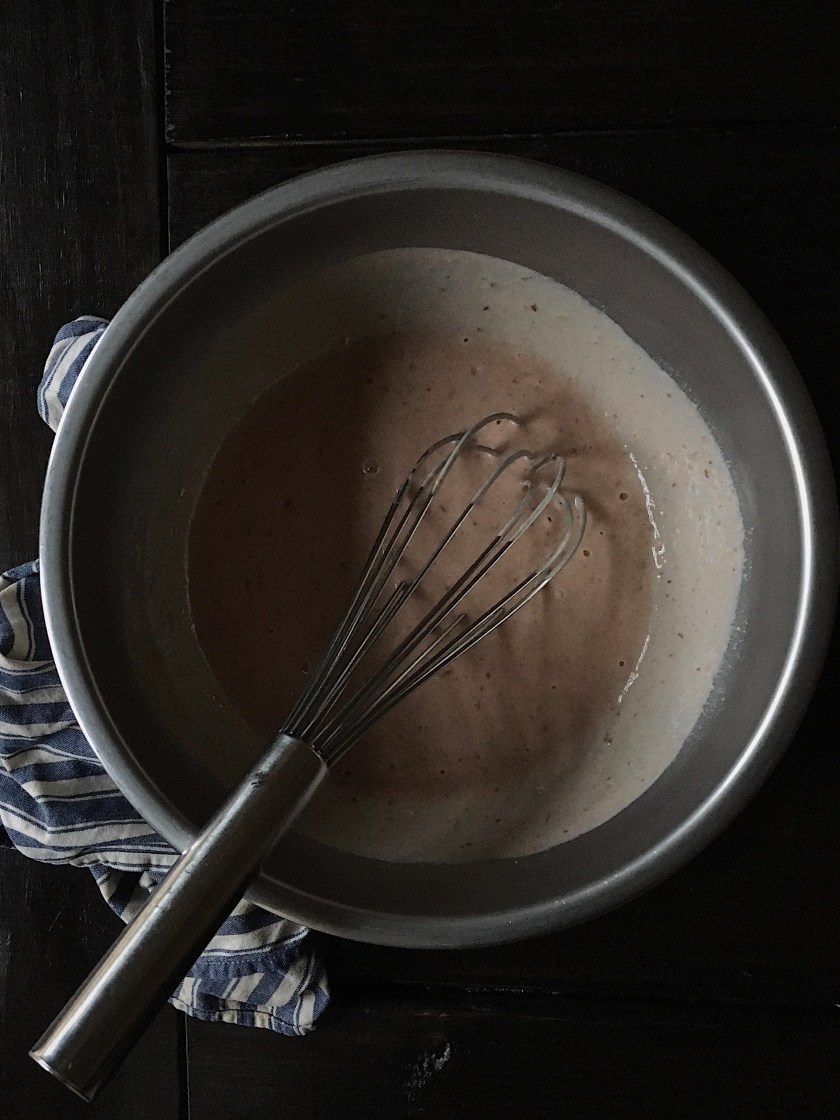
3. In a large bowl, combine flour, sugar, baking soda, salt, cinnamon, and pumpkin spice. Add pumpkin, oil, extracts, milk and vinegar to flour mix. Fold gently until just moistened. Be careful not to over-mix.
4. Spoon batter into the pan/s, cover the top evenly with the streusel. And bake for 45–50 minutes or until a toothpick inserted in the center of a loaf comes out clean.
5. Allow bread to cool in the pan/s on a wire rack for 15 minutes. Turn the cake out onto a cooling rack. Cool completely before slicing.

 NOTES:
I’ve only tried this recipe with the ingredients listed, so I can not promise you that substitutes will yield the same product that I was happy with. If you do try substitutes, and you’re happy with the results, please return to leave a comment and let others know.
 So, I think we should start this off on a note of honesty. I rarely make cured egg yolks because it calls for such an inordinate amount of sugar and salt and you can’t really reuse it once it has absorbed all of the moisture from the yolks. But if you have egg yolks that are still intact from making meringue or an egg white omelette, then this is one of the many things you can do with them. Remember, no yolk left behind.

 This procedure is from


 And then when I was around 6 or 7, I’m not sure, we found out that I was allergic to everything that bloomed or breathed in nature. It was a rough life as a kid but it was a good life nonetheless, once you find out all the things you’re allergic to, you simply calculate your next move, like chess, and carry-on. There were moments when I’d reach for something and forget to read the label, a few arm scratches later and all my senses were aroused and I was scrambling for Benadryl and a puff of my inhaler. Yes, allergies and asthma is no fun as an energetic youth who had a passion for life the way I did. But I survived and I’m here to tell you all about it.


 The winter entered through the back door a little prematurely. Autumn was slowly taking steps backward to make way for the hues of blue, the last leaves to fall away from the branches of soon-to-be withered trees. You know, the ones that cast shadows behind the street lights at night. I’ve become used to hearing the wailing of those who lament winter’s arrival; grumbling about how their desire for summer to come back because the spring time wreaks havoc on their allergies.

 As a child I had both allergies and asthma, two diseases that still bring me grief today. But I still have an appreciation for every season because the details are different; and the arrival of spring blooms versus the color change of the leaves in autumn are all things to be appreciated. And winter’s vegetables are some of my favorite to consume. The vibrant shades of cabbage nestled against the neutrals of potatoes and a splash of hearty greens all ready to be made into delectable soups, stews and pickled things if you’re skilled enough to take on the challenge.
 I was a strange kid if you were to inquire from the right family members. I was a lover of all vegetables with the exception of okra, it had to be fried and practically burnt for me to find it palatable. Of course, I’ve since matured and adore it fried or pickled, but still slightly burnt (old habits die-hard). But enough of memory lane, lets talk radishes. My only familiarity with radishes growing up was at church potlucks on crudités platters and they were always the last thing left, along with celery. They were more oft than not left behind on salad bars and strewn to the side of the plate like the family member you wanted to avoid at all cost due to lack of personality. In culinary school we carved them into flowers during garde manger, shaved over salads as an a la minute need for a burst of color. I’ve only ever known them to be the red-headed stepchild of the cruciferous family…tis a shame.
 The recipe I’m sharing with you today I hope changes your mind about these guys…or gals. I rather enjoy introducing radishes to my clients in this format and I have yet to see anyone shy away from giving them a try. It’s so simple and yet so rewarding-ly delicious – just a little bit of olive oil, kosher salt and fresh ground black and you’re in business. This same method works well with carrots, rutabagas, parsnips and other hearty veggies as well.
 I decided to make a little garlic aioli to eat them with and used the cheaters guide to make this rather quickly. I cracked and peeled three cloves of garlic and sautéed it in a skillet with a tablespoon of olive and a little salt and pepper until the garlic was aromatic and began to caramelize a little. Once I got a good amount of color on the garlic about two minutes on medium heat – I set that mixture to the side to let it cool. I pulled out my food processor and put three heavy tablespoons of Duke’s mayo in there with two dashes of Texas Pete hot sauce, a squeeze of lemon juice (1 tbsp), the garlic with the oil that it cooked in and a dash of Worcestershire. I flipped the switch and let those ingredients come together, scraping down the sides once or twice to incorporate all the ingredients. Once I was happy with the consistency I tasted it for salt and pepper.